Unlock the Secrets to Perfectly Assembling Your Dream Bronze Gazebo!
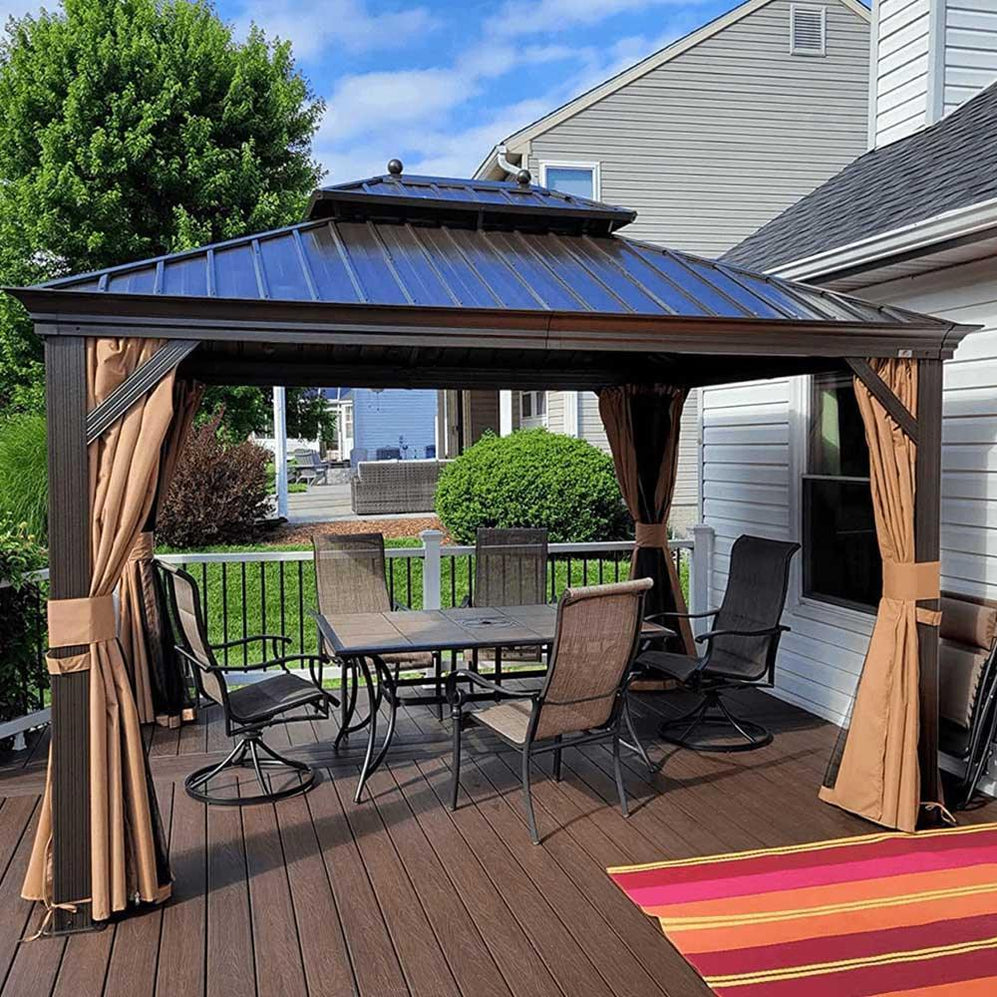
Bronze gazebos are the epitome of outdoor elegance, blending style with function in a way that enhances any backyard or garden space. For DIY enthusiasts, the allure of assembling a bronze gazebo from a kit is not just in the aesthetic appeal, but also in the sense of accomplishment that comes with crafting something beautiful from scratch. Choosing a gazebo kit offers a cost-effective solution that allows for a great deal of customization, letting you tailor the design to fit your unique space and preferences. This article aims to provide you with detailed assembly instructions for DIY bronze gazebo kits, ensuring that you can smoothly transition from unboxing to enjoying your new outdoor haven.
Understanding Your Bronze Gazebo Kit
Before diving into assembly, it's essential to understand the components included in your bronze gazebo kit. Typically, these kits come with pre-cut panels, beams, a roof structure, and all necessary hardware such as screws, bolts, and brackets. Additionally, many kits include an instruction manual, which is your best friend during the assembly process. Thoroughly reviewing this manual before you start is crucial; it not only outlines the steps you'll need to follow but also highlights the tools required for the job. Speaking of tools, you’ll generally need a drill, level, screwdriver, and possibly a hammer. To avoid any frustrating surprises, double-check that all parts are present and in good condition before beginning your project-missing components can turn a weekend project into a week-long endeavor.
Preparation for Assembly
Preparation is key to a successful assembly. Start by selecting the perfect location for your gazebo—ideally, a flat, stable surface that offers ample space for both the assembly process and the finished structure. Clear the area of any debris, plants, or obstacles that could hinder your work. Lay out all the parts in an organized manner so that you can easily access them as you go. Weather conditions also play a significant role; aim for a day with mild weather to ensure you’re not battling elements like wind or rain during assembly. Finally, manage your time wisely. Estimate how long each step might take and allow for breaks to keep yourself focused and energized.
Step-by-Step Assembly Instructions
Now, let's dive into the step-by-step assembly process. Following these clear instructions will help ensure your gazebo is built safely and effectively.
Step 1: Assemble the Base
The first step in your assembly process is constructing a solid foundation for your gazebo. Begin by laying out the base pieces according to the instruction manual, making sure they fit together correctly. Use a level to ensure that the base is perfectly flat; an unlevel base can lead to instability and potential damage to your gazebo over time. If your kit includes anchoring components, be sure to secure them appropriately to provide your gazebo with the stability it requires.
Step 2: Construct the Frame
With the base complete, it’s time to construct the frame. Start by connecting the vertical posts to the base using the provided brackets and screws. It’s essential to ensure each joint is secure, as these connections will support the entire structure. Be mindful when handling large components; it’s best to have a friend assist you to avoid accidents. Once the vertical posts are in place, connect the horizontal beams to complete the frame. Again, double-check that everything is level and square as you go.
Step 3: Install the Roof
Next, you’ll move on to the roof structure. Carefully position the roof panels on top of the frame, ensuring they align correctly with the framework. Secure them in place according to the instructions, using screws or bolts as directed. Pay close attention to the alignment; proper alignment helps prevent issues such as leaks and structural weaknesses. If your gazebo kit includes a cover or shingles for the roof, install those as well, taking care to follow the specific guidelines provided in the manual.
Step 4: Final Touches
Congratulations, you’re almost there! The final touches can really make your gazebo feel complete. Consider adding decorative elements like railings or flower boxes to enhance its aesthetic appeal. You might also want to paint or stain the gazebo to match your outdoor decor. Finally, conduct a thorough inspection of your work. Ensure that all screws are tightened, joints are secure, and the structure is stable before celebrating your accomplishment.
Building Your Dream Gazebo
In summary, assembling a bronze gazebo from a kit can be a rewarding and enjoyable project. By understanding your kit's components, preparing your workspace, and following the assembly instructions closely, you can create a stunning addition to your outdoor space. Remember to enjoy the process—there's a unique satisfaction that comes from building something with your own hands. Once your gazebo is complete, consider exploring additional resources for maintenance and decoration to keep your new outdoor haven looking beautiful for years to come.